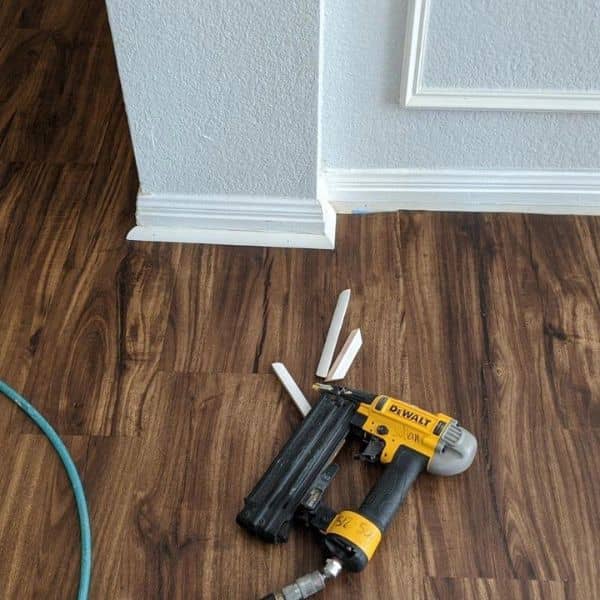
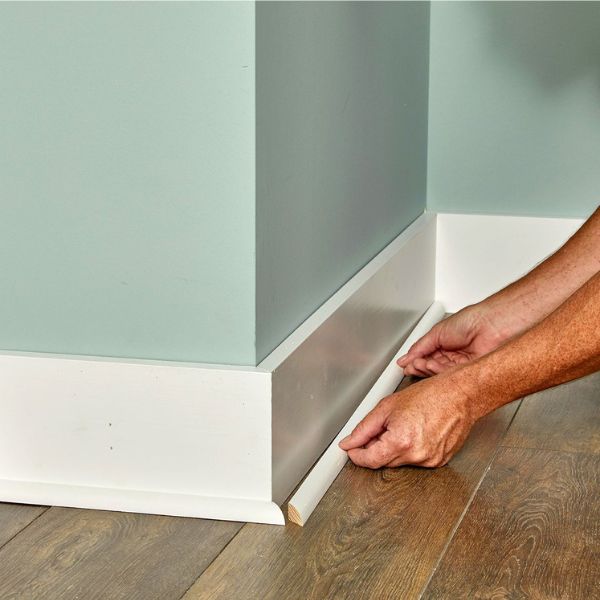
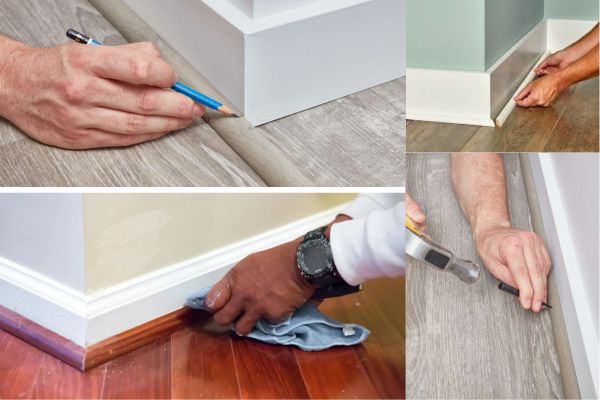
The thin strip of molding, called Shoe Molding, conceals the gap between the wall and floor when installed beneath the baseboards. Shoe Molding also commonly referred to as baseboard or quarter round molding, is a type of molding that is used in a home as a trim that is both functional and can also be used for decorative purposes.
Tools required
Some of the useful tools needed while installing Shoe Molding are:
–Miter Saw, used to cut materials for forming accurate angles for trimming.
-Finish Nailer, pounds in molding using nails that remain concealed.
-Nail Set, hammer accessory used in order to place nails beneath the wood’s surface.
-Paint Brushes, When molding unpainted areas for a consistent color match, use paint brushes instead.
-Wood Glue, makes sure that the joints are properly fixed in place
-Tape Measure, is used for measuring and determining the correct angles of cuts and layout.

Choosing the Right Shoe Molding
Shoe Molding is available in materials that come in plastic and rubber, some common options include:
- Wood Shoe Molding is available in various opinions for the type of wood used such as oak or pine.
- MDF or polymer shoe molding, Engineered wood, and plastic polymers enhance the stability and performance of the material, also it can be lower in price than that of real wood.
- Rubber Shoe Molding, Molded Rubber is flexible, versatile, water resistant, and has a long wear which makes it perfect for use in bathroom and laundry areas.
Preparing for Installation
If you are thinking of installing the shoe molding in your room successfully, first you should prepare well for the task in a bid to achieve the best results as well as the longevity of the shoe molding.
- Cover the areas that you will be working on with drop cloths to avoid having trim pieces or nails filling the walls or floors.
- Remove contaminants involving removing any substance that interferes with the bond between the two surfaces by using a clean cloth to wipe off the surfaces.
- To prevent damage or dirt buildup, cover the nearby walls or floors with plastic sheets and use a damp cloth or a brush to clean the bottom edges of the baseboards, whereas, for the shoe molding, it’s best to apply on a smooth dust dust-free area to get the best result.
- When using a miter saw with a 45-degree bevel, you need to adjust the blade to a corresponding position.

How to install It?
- When hammering nails into denser material, it’s more effective to stick them through the wall or baseboard instead of the floor. This approach provides extra grip and reinforcement for the nails.
- At the corners, we can join two pieces of molding end to end to create the appearance of a single strip, or we can cut the molding at the corners to achieve the same result.
- If the walls are extremely lengthy install space joints instead of tight ones to allow room for expansion and contraction thus preventing the molding from buckling.
- When joining, align the middle of the seams with the doors on the wall to ensure proper placement and alignment with the floor seams or room corners.
- If one is to work with valuable wooden parts, then one has to be certain to countersink before nailing since it helps prevent cracks or splits.
Prepare the Area, Securely fix baseboards to the walls with screws before installing the shoe molding. You can apply sand and put wood filler in different areas where there are disparities on the walls. Then, before the actual procedure of installing the baseboards begins, the floor on which they are to be placed must be clean of dust, and many other things.
Cut the Shoe Molding, Measure the baseboards using measuring tape, then cut the shoe molding to the required length to fit in the room with the help of a miter saw. Cut them into 45 degrees so that when going to join the pieces together, also make sure that you leave a small space of about ¼ inch between the two strips of molding.
Install the shoe molding, You should apply wood glue on the back side of the shoe molding strips and then press them against the baseboards to ensure they stick well after cutting and installing the baseboards.
Also, pierce the nail through a small hole to minimize the pressure that it pits on the wood.
Fill holes and finish, You must apply wood filler to any pin-sized holes or marks on the area. Finally, use the jointing cement to fill in those gaps along the top edges and paint or stain to match the interior.
FAQs
1. Can I install shoe molding on my own?
Yes, installing shoe molding is a DIY project, you can successfully install shoe molding with the right tools and patience and enhance the look of your space.
2. How to attach shoe molding to the wall?
Set the molding to the wall and the floor, and to attach it securely use a hammer and nails, and make sure to nail in the baseboards, not the floor.
3. What is Shoe Molding?
Shoe molding is a type of trim that covers the gap between the baseboard and the floor, it goes along the bottom edge of the baseboards.
You may like to read more on, Inexpensive Porch Ceiling Ideas: Upgrade Your Outdoor Space with Style on a Budget
