")
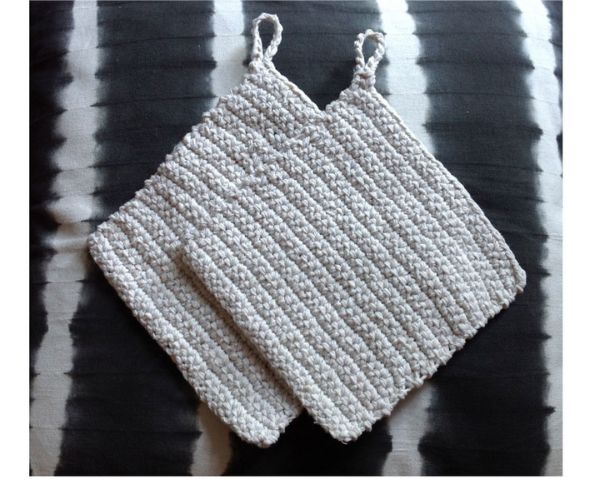
Are you tired of using boring, store-bought pot holders? Do you want to give a touch of handmade charm to your kitchen? Pot holders, also referred to as knitted grydelappers are a wonderful way to add a unique and useful touch to your kitchen. Here we will show you through the process of creating your very own knitted grydelappers.
Tips
- Use a thicker yarn for a more durable pot holder.
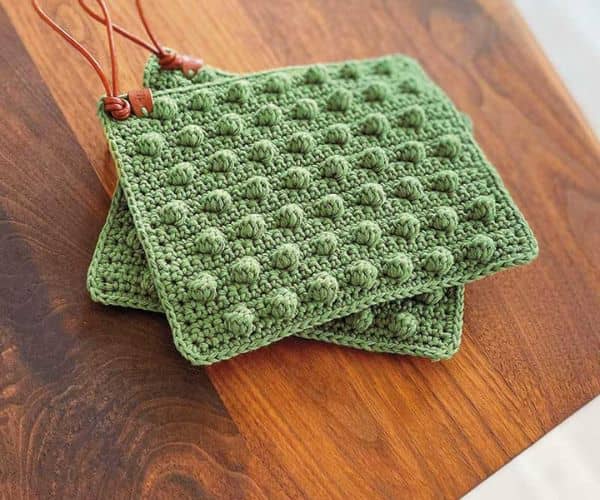
- Try different stitch patterns such as ribbing or garter stripes, for added visual interest.
- Consider adding a loop or hanging tab to the corner for easy storage.
- Wash and fry the pot holders before use to set the shape.
What You Need?
Before you start knitting your Grydelappers, you will need the following materials:
- Knitting Needles
- Yarn in the desired color
- Scissors
- Tapestry Needle
- Stitch Markers
Instructions
- Choose Your Yarn and Needles: Select a yarn that is durable and heat resistant, such as cotton or wool. Choose knitting needles in a size that works well with your chosen yarn, typically between sizes 7-9 (4.5-5.5mm).
- Knit the Body: Work in a simple garter stitch until the pot holder measures about 7-8 inches square.
- Bind Off: When you have reached the desire
- Cast On: Using your knitting needles cast on enough stitches to create a square pot holder, usually around 20-24 stitches.
- Bind off all the stitches to secure the knitting.
- Finish the Edges: Use a tapestry needle to weave the loose ends, creating a clean finished edge.
- Make a Set: Repeat the process to create multiple pot holders in coordinating colors or patterns.
Step 1: First, sew the right number of stitches on your knitting needles, the number you cast on will depend on the size of grydelappers you are planning to create.
Step 2: After casting on the stitches, you may start knitting the main parts of the grydelappers in the proper stitch patterns of your choice.
Step 3: Once you have reached the desired length for your grydelappers, bind off the stitched to secure the edge. Make sure to bind off loosely to ensure that the grydelappers retain their flexibility and shape.
Step 4: After binding off, use a tapestry needle to sew in any loose ends of yarn to prevent them from untangling, this will give your grydelappers a clean finish.
Creative Ways to Use Grydelappers
In addition to being used as pot holders, grydelappers can also serve other purposes such as,
- Coaster for hot or cold beverages.
- Trivets for hot dishes or pans.
- Decorative wall hangings in the kitchen.
FAQs
1. What materials are needed to knit Grydelappers?
You will need cotton yarn, knitting needles, a darning needle, and scissors. Cotton yarn is preferred because it is heat-resistant and durable.
2. Can I use other types of yarn for knitting Grydelappers?
It is best to use 100% cotton yarn because it can withstand high heat and is machine washable, also avoid acrylic or wool as they are not as heat resistant.
3. Can I Knit Grydelappers in different shapes?
Yes, while square and rectangular shapes are common, you can also knit circular, hexagonal, or other shapes by adjusting your pattern accordingly.
You may like to read more on, Patio Roof Ideas To For Your Property! Know the Types and Find Out Which One Fits!